Resettle Buildings Tier List (S–C)
Ranked by Crowns speed, bottlenecks relieved, and adjacency potential.
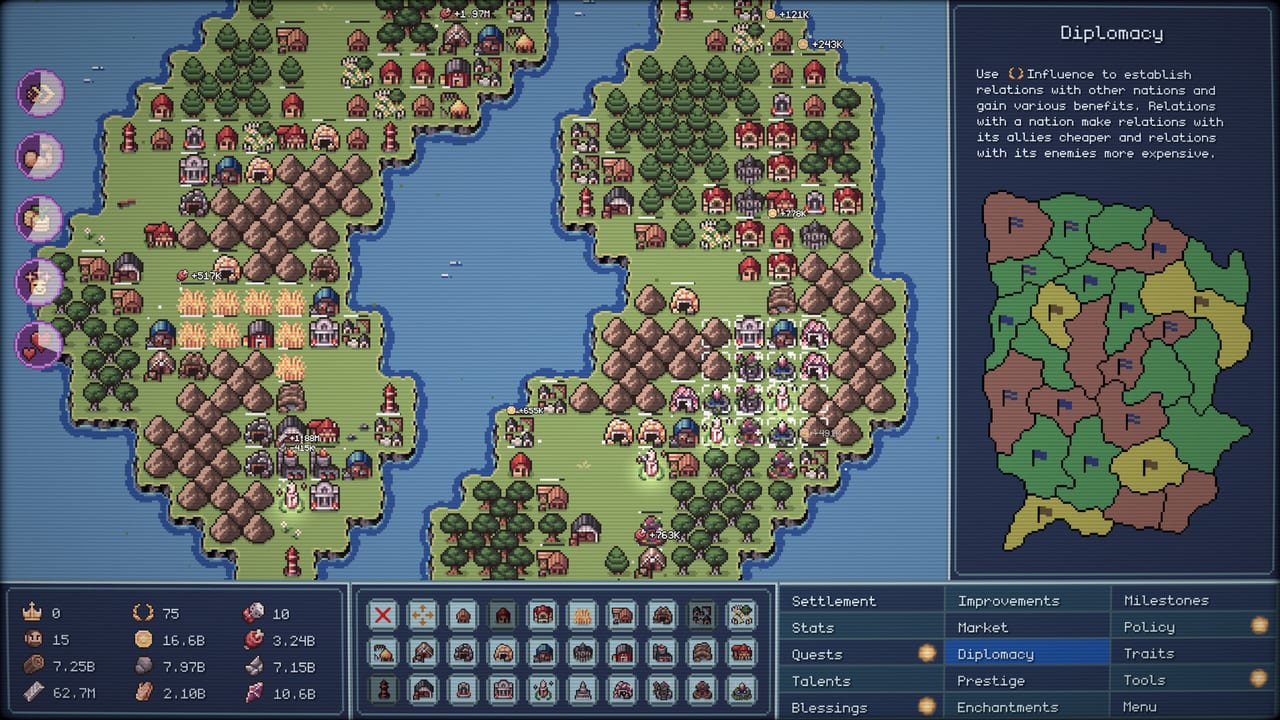
This Resettle buildings tier list ranks structures by how hard they push settlement levels and Crowns when placed correctly. Bad adjacency can drop any building a full tier — always preview terrain bonuses. For placement details see Buildings & synergies; for focus targets see Booster.
Ranks assume a typical mixed island. Extreme coasts or forests change the order (notes under each tier).
S tier — build and boost these first
Harbor / Port
Best early-to-mid gold building when water adjacency is high. Each nearby water tile matters; slide along the coast until the preview peaks. Put harbors inside your Booster pocket as soon as size allows. On tiny-pond maps, demote to A and lean on gold mines instead.
Tree-adjacent cottages (early game)
Opening S-tier because they provide gold, settlers capacity, and happiness from forests simultaneously. Four-tree cottages are mandatory openers. After settlement level 2 gold specialists arrive, cottages become A support — still essential, no longer the primary Booster target.
Hunting lodges (forest maps)
Once unlocked, lodges near dense forest often solve food forever and free the Booster to return to gold. On sparse-tree islands they fall to A/B behind wheat and fishing.
Parks (when happiness is not already high)
Parks are S-tier economic multipliers disguised as decoration. One park in a cottage cluster can finish happiness milestones and raise global production. Skip extra parks only if morale is already capped and Crowns need raw gold instead.
Tax collectors (mid-late)
Excellent gold scalers once population and settlement level support them. Cluster with harbors and gold mines under the Booster for pre-Prestige Crown farming.
A tier — core supports and strong alternatives
Gold mines
Reliable gold when rock sites are good. Often pair with harbors rather than replacing them. Boost during settlement-level gold sinks.
Wheat fields (opening)
A-tier mandatory support. Not glamorous, but settler spawns depend on them until hunting lodges appear. Boost temporarily whenever construction is blocked.
Lumberjacks (max tree adjacency)
Strong A when wood gates upgrades. A one-tree lumberjack is B/C; a four-tree lumberjack is true A. Keep at least one excellent lumberjack online.
Markets
Solid commercial gold on later islands/settlement tiers. Rank climbs when clustered with other gold buildings; isolated markets are merely B.
Strong stone mines / early quarries
A while stone is scarce; drop to B once stockpiles overflow. Never let stone shortages freeze the upgrade panel.
Higher-tier housing (houses, estates) after economy exists
A for population and gold once cottages are maxed on good tiles. Building estates before a harbor economy is a common downgrade into B/C waste.
B tier — situational or filler
Extra stone mines after the first strong one
Useful for milestones that count buildings, otherwise low priority.
Fishing huts on contested coasts
B when harbors need the same water tiles. Become A if forest hunting is weak and food is desperate.
Redundant markets / secondary tax buildings
Fine for Crown objectives that demand counts; otherwise gold-per-tile often favors improving adjacency on existing S/A buildings.
Industrial starters before the gate
Iron or workshop buildings placed long before you need their chain occupy settlers and tiles. Keep them B until a milestone or unlock requires them.
C tier — usually a mistake
Any building on wrong terrain
Cottages without trees, harbors without water, lumberjacks on bare grass, parks in empty wilderness. Same blueprint, terrible output.
Luxury estates before settlers and gold engines
Looks developed, drains gold, delays settlement level. Prestige Tree cost reduction can rescue this later — still C on run one.
Spamming weak copies instead of one strong adjacency
Five bad wheat fields lose to three good fields plus a hunting lodge. Density without synergy is C-tier thinking.
Ignoring Booster pockets
Spreading S-tier buildings across the map so focus only hits one at a time effectively plays them as B. Relocate into clusters.
Phase cheat sheet
Minutes 0–15: S cottages → A wheat → A lumberjack/stone → S harbor. Settlement level 2: S hunting (if forest) → S parks → A gold mines → keep harbor boosted. Settlement level 3+: S tax collectors → A markets/industry as gated → Prestige when Crowns peak. New Prestige island: Rescout coast vs forest; swap harbor vs hunting priority accordingly.
Pair with upgrade tiers
Buildings print resources; upgrades multiply them. After you place S-tier structures, spend gold using the Upgrade priority tier list. Happiness upgrades make every S-tier building harder; Booster upgrades make the focused ones faster.
Related links
Place S-tier on correct terrain, keep A-tier supports alive, and treat C-tier mistakes as relocation opportunities — not sunk costs.
Frequently Asked Questions
Quick answers about settlements, Boosters, and Prestige.
What is the best building in Resettle?
On most maps, a high-water harbor is the best early-mid gold building. Tree cottages and hunting lodges share S-tier for happiness and food.
Why did my S-tier building feel weak?
Usually bad adjacency, low happiness, missing settlers, or the Booster sitting elsewhere. Fix placement and morale before blaming the tier list.
Should I demolish C-tier placements?
Relocate when the game allows moves. Otherwise stop investing in them and put new buildings on correct terrain.
Do rankings change after Prestige?
Terrain changes each island, and Prestige Tree bonuses can promote happiness or Booster strategies. Rescout before copying your last layout.